
Twitch is a leading live streaming platform. It receives on average 30 million daily visitors, who spend time viewing more than 7 million streams. Twitch live streaming has entirely altered the way we use video games for entertainment. Now many people get enjoyment from watching others play games rather than participating in the action themselves. While Twitch theoretically caters to most types of streaming, it's no secret that game streaming is its lifeblood. Traditionally, most people have gone to Twitch to watch people play games and to listen to them commentate as they play. But what games do they watch most often? Are popular Twitch games the same as the top-sellers you can buy in a gaming store, or more likely online through Steam, EA, or another gaming company nowadays?
If you look at the following list, you will notice a surprising variety in the types of games played. Indeed a few of the top categories on Twitch aren't gaming-related at all. You will see fighting games, sports games, battle royales, MMORPGs, and even gambling games.
Obviously, the popular games that streamers play on Twitch change over time, sometimes from day to day. Therefore, we have used Twitch Stats data to select the most popular games on Twitch during the current year. These represent the average viewers of a Twitch game. We also show overall rankings for those games that rank in Twitch's All-time Top 50.
Most Viewed Games on Twitch:
- 1. Just Chatting (All-time #NA)
- 2. Grand Theft Auto V (All-time #4)
- 3. League of Legends (All-time #1)
- 4. Fortnite (All-time #2)
- 5. Call of Duty: Warzone (All-time #NA, but Call of Duty: Black Ops III #17)
- 6. VALORANT (All-time #NA)
- 7. Counter-Strike: Global Offensive (All-time #3)
- 8. Apex Legends (All-time #NA)
- 9. Rust (All-time #11)
- 10. Dota 2 (All-time #5)
- 11. Escape from Tarkov (All-time #NA)
- 12. World of Warcraft (All-time #7)
- 13. FIFA 23 (All-time #NA, but FIFA 16 #49)
- 14. Music (All-time #15)
- 15. Slots (All-time #NA)
- 16. Dead by Daylight (All-time #NA)
- 17. Hearthstone (All-time #6)
- 18. Rocket League (All-time #12)
- 19. Tom Clancy's Rainbow Six Siege (All-time #10)
- 20. Resident Evil Village (All-time #NA)
- Frequently Asked Questions
1. Just Chatting (All-time #NA)
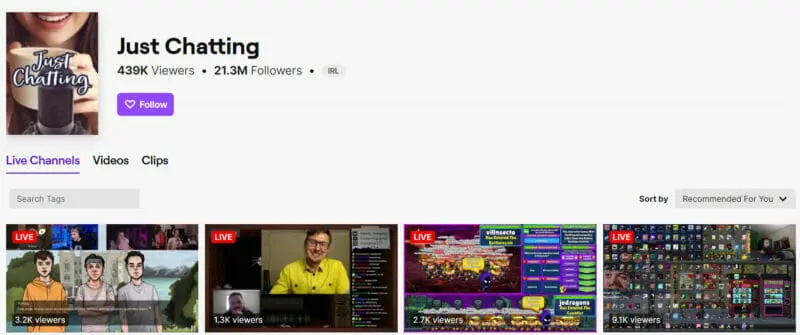
Average Viewers: 353,264
Average Channels: 1,620
Total Streamers: 482,413
Highest Viewers: 2,300,349
Most Channels: 6,340
Most Popular Streamers: ADINROSS / HASANABI / MIZKIF / CASIMITO / ELIASN97 / NMPLOL / YOURRAGEGAMING / WOOWAKGOOD
Somewhat surprisingly, we have started this list of most viewed games on Twitch with something that isn't a game at all. But the fact that "Just Chatting" is now the most popular channel on Twitch is too important to ignore. As its name clearly states, Just Chatting is about streamers chatting with their viewers rather than playing games.
This proves that Twitch isn't just for gaming. Interestingly, it also emphasizes that Twitch is not just used by Western-centric teenagers. The top broadcast language in the Just Chatting channel is Spanish, followed by English, Korean, Portuguese, and Russian.
2. Grand Theft Auto V (All-time #4)
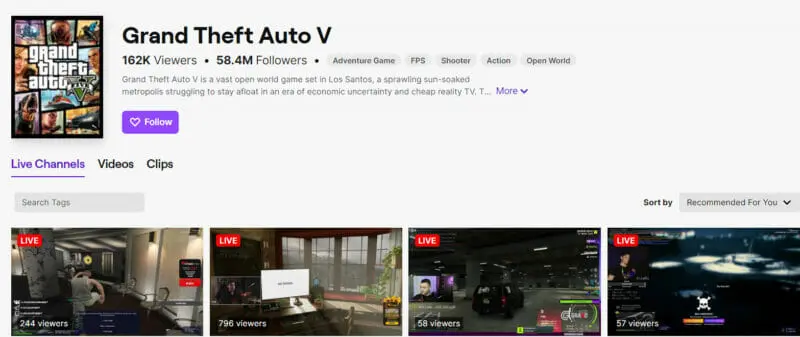
Average Viewers: 160,419
Average Channels: 818
Total Streamers: 128,317
Highest Viewers: 581,113
Most Channels: 2,837
Most Popular Streamers: LOUD_CORINGA / JLTOMY / REBIRTHZTV / BUDDHA / ZERKAA / LUQUET4 / GABEPEIXE / EWROON
Grand Theft Auto V is a 2013 action-adventure game developed by Rockstar North and published by Rockstar Games. Set within the fictional state of San Andreas (based on Southern California), Grand Theft Auto Online allows you to explore its open-world environment and engage in cooperative or competitive game matches.
3. League of Legends (All-time #1)
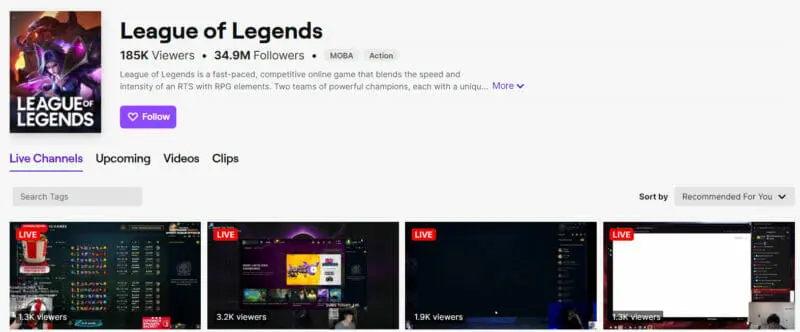
Average Viewers: 182,206
Average Channels: 876
Total Streamers: 178,031
Highest Viewers: 3,104,989
Most Channels: 3,671
Most Popular Streamers: LEC / LCK / LCS / CBLOL / LOLTYLER1 / LLA / LVPES / LOL_WOOLF
League of Legends (LoL), commonly referred to as League, is a 2009 multiplayer online battle arena video game developed and published by Riot Games. Two teams of five players battle in player versus player combat, each team occupying and defending their half of the map.
4. Fortnite (All-time #2)
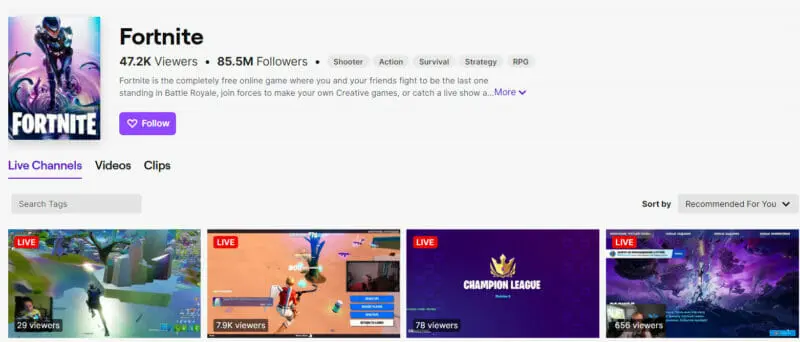
Average Viewers: 63,995
Average Channels: 806
Total Streamers: 247,100
Highest Viewers: 781,964
Most Channels: 4,213
Most Popular Streamers: CLIX / NINJA / TFUE / AMAR / SYPHERPK / NICKEH30 / JELTY / AUSSIEANTICS
Fortnite is an online video game developed by Epic Games and released in 2017. Fortnite Battle Royale is a free-to-play battle royale game in which up to 100 players fight to be the last person standing.
5. Call of Duty: Warzone (All-time #NA, but Call of Duty: Black Ops III #17)
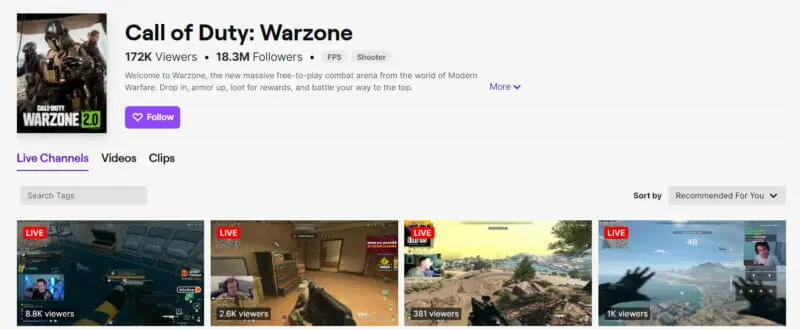
Average Viewers: 42,177
Average Channels: 557
Total Streamers: 99,943
Highest Viewers: 582,285
Most Channels: 2,387
Most Popular Streamers: SWAGG / AYDAN /CHOWH1 / DIAZBIFFLE / SYMFUHNY / TEEPEE / HUSKERRS / ITS_IRON
Call of Duty: Warzone is a free-to-play battle royale video game released in 2020 for PlayStation 4, Xbox One, and Microsoft Windows. The game is a part of 2019's Call of Duty: Modern Warfare and is connected to 2020's Call of Duty: Black Ops: Cold War. Warzone allows online multiplayer combat among 150 players, although some limited-time game modes support 200 players.
6. VALORANT (All-time #NA)
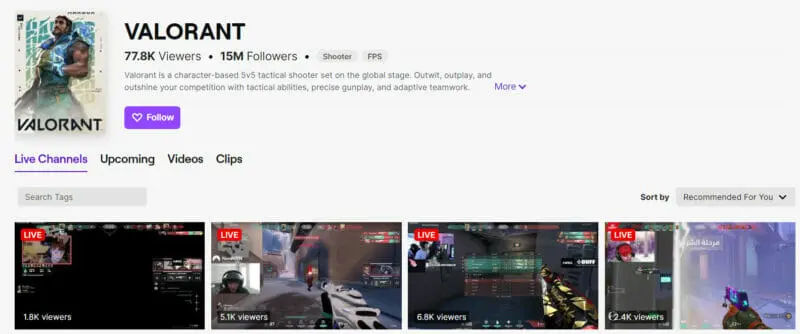
Average Viewers: 128,340
Average Channels: 1,096
Total Streamers: 260,179
Highest Viewers: 1,179,205
Most Channels: 3,661
Most Popular Streamers: VALORANT_JPN / TARIK / VALORANT / FPS_SHAKA / VALORANT_BR / JASPER7SE / MIXWELL / KYEDAE
VALORANT is a free-to-play first-person hero shooter developed and published by Riot Games for Microsoft Windows. Players play as one of a set of agents, characters designed based on several countries and cultures worldwide. Players are assigned to either the attacking or defending team, with each team having five players on it.
7. Counter-Strike: Global Offensive (All-time #3)
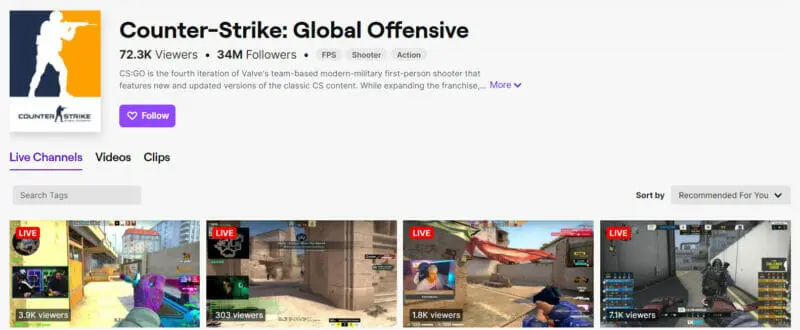
Average Viewers: 82,150
Average Channels: 272
Total Streamers: 81,115
Highest Viewers: 1,635,124
Most Channels: 1,133
Most Popular Streamers: GAULES / ESL_CSGOB / ELISAESPORTS / IZAKOOO / BYSL4M / BYSTAXX / OHNEPIXEL / CCT_EN
Counter-Strike: Global Offensive (CS:GO) is a multiplayer first-person shooter developed by Valve and Hidden Path Entertainment. It is the fourth game in the Counter-Strike series. Although it was first released in 2012, Valve still regularly updates the game, both with smaller balancing patches and larger content additions.
8. Apex Legends (All-time #NA)
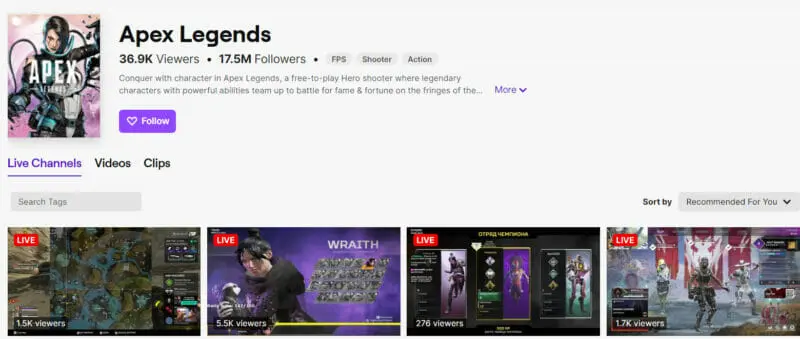
Average Viewers: 71,089
Average Channels: 829
Total Streamers: 164,573
Highest Viewers: 553,890
Most Channels: 4,661
Most Popular Streamers: NICKMERCS / TSM_IMPERIALHAL / ACEU / IITZTIMMY / SWEETDREAMS / DALTOOSH / SHIVFPS / FAIDE
Apex Legends is a free-to-play hero battle royale game developed by Respawn Entertainment and published by Electronic Arts. It was released in 2019. The game is set in the same science fiction universe as Respawn Entertainment's Titanfall series. Apex Legends features two gameplay modes: Battle Royale and Arenas.
9. Rust (All-time #11)
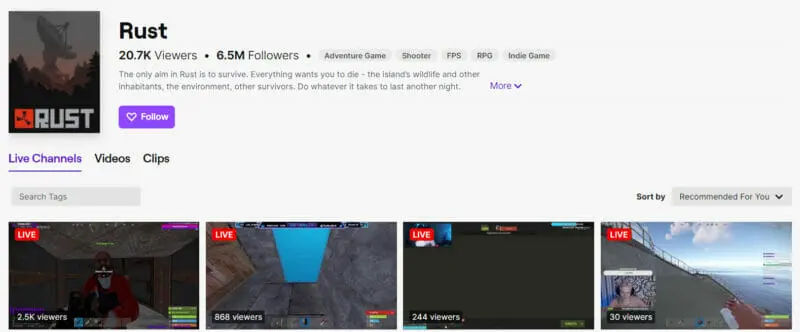
Average Viewers: 32,815
Average Channels: 103
Total Streamers: 22,658
Highest Viewers: 918,348
Most Channels: 572
Most Popular Streamers: SUMMIT1G / HJUNE / COCONUTB / AGUSTABELL212 / ISVOLCANO / PANPOTS / MENDO / WARRIORRUST
Rust is a multiplayer-only survival video game developed by Facepunch Studios. The objective of Rust is to survive in the wilderness using gathered or stolen materials. Players must successfully manage their hunger, thirst, and health or risk dying.
10. Dota 2 (All-time #5)
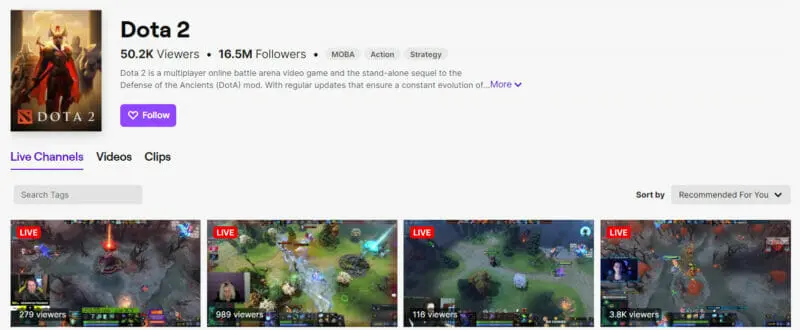
Average Viewers: 61,906
Average Channels: 179
Total Streamers: 30,577
Highest Viewers: 1,035,415
Most Channels: 642
Most Popular Streamers: NIX / ESL_DOTA2 / GORGC / JUST_NS / TOPSONOUS / STRAY228 / EPIC_D2CL / YBICANOOOOBOV
Dota 2 is a multiplayer online battle arena (MOBA) video game developed and published by Valve. The game is a sequel to Defense of the Ancients (DotA). Dota 2 is played in matches between two teams of five players, with each team occupying and defending their own separate base on the map. Each of the ten players independently controls a powerful character, known as a "hero," all of whom have unique abilities and differing play styles.
11. Escape from Tarkov (All-time #NA)
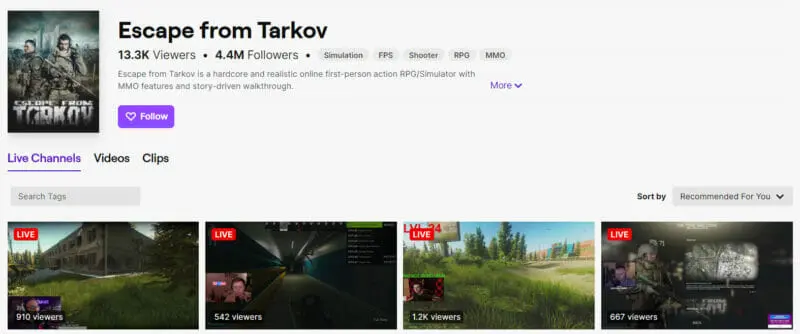
Average Viewers: 30,757
Average Channels: 284
Total Streamers: 36,214
Highest Viewers: 361,405
Most Channels: 1,468
Most Popular Streamers: LVNDMARK / PESTILY / DEADLYSLOB / GLORIOUS_E / DUNDUK / WILLERZ / HUTCHMF / BULLSEYE
Escape from Tarkov is a multiplayer first-person shooter video game in development by Battlestate Games for Windows. The game is set in the fictional Norvinsk region, where a war is taking place between two private military companies (United Security "USEC" and the Battle Encounter Assault Regiment "BEAR"). Players join matches called "raids" to fight other players for loot and aim to survive and escape; dying results in losing all items the player used and found during that raid with only a few exceptions.
12. World of Warcraft (All-time #7)
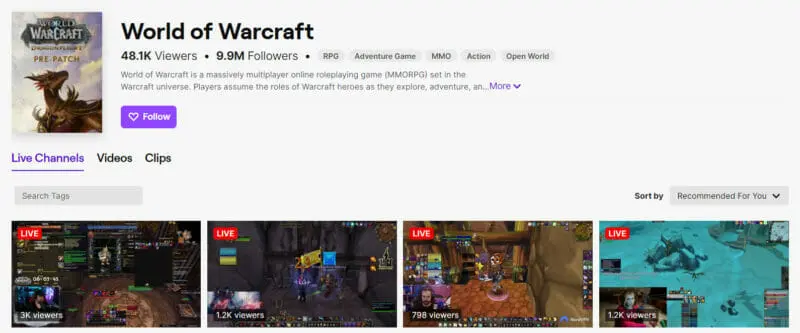
Average Viewers: 37,945
Average Channels: 300
Total Streamers: 40,395
Highest Viewers: 507,658
Most Channels: 1,481
Most Popular Streamers: ZACKRAWRR / METHOD / ESFANDTV / GINGITV / UNGESPIELT / JOKERDTV / SCRIPE / METASHI12
World of Warcraft (WoW) is a massively multiplayer online role-playing game (MMORPG) released in 2004 by Blizzard Entertainment. Set in the Warcraft fantasy universe, World of Warcraft takes place within the world of Azeroth, approximately four years after the events of the previous game in the series, Warcraft III: The Frozen Throne. World of Warcraft has had eight major expansion packs.
13. FIFA 23 (All-time #NA, but FIFA 16 #49)
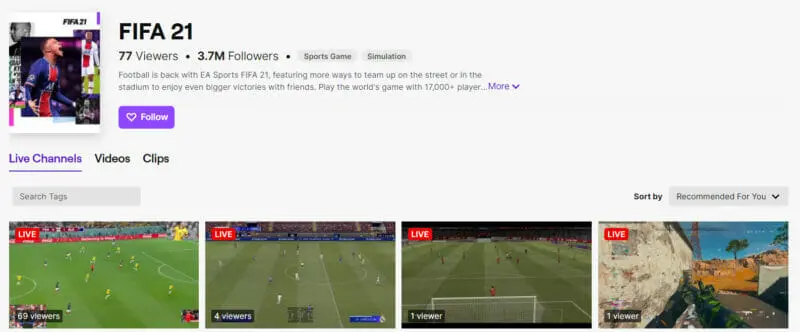
Average Viewers: 57,738
Average Channels: 108
Total Streamers: 9,378
Highest Viewers: 472,666
Most Channels: 498
Most Popular Streamers: ELIASN97 / TRYMACS / CASTRO_1021 / GAMERBROTHER / TISISCHUBECH / RUNTHEFUTMARKET / SIDNEYEWEKA / ROCKY_
FIFA 23 is the 28th installment in the FIFA series, released on 9 October 2020. The game features more than 30 official leagues, over 700 clubs, and over 17,000 players. FIFA is a series of association football video games developed and released annually by Electronic Arts under the EA Sports label.
14. Music (All-time #15)

Average Viewers: 3
Average Channels: 1
Total Streamers: 60,172
Highest Viewers: 228,216
Most Channels: 1,161
Most Popular Streamers: SINTICA / YEJUNIVERSE / ANASTASIA_ROSE_OFFICIAL /DWPRESENTS / HERMANLI / LEEKBEATS / JUST_LINA / DIRKNEUENFELS
Twitch music channels are another non-gaming category. Twitch describes Twitch Music as being a place where music creators can share their art with a community of millions and build a place to connect with their most passionate fans. With Twitch, anyone can broadcast themselves live over the internet to millions of viewers. It has an amazing community of musicians - instrumentalists, DJs, rappers, singers, and music producers. Viewers can request songs, ask questions, and exchange ideas.
15. Slots (All-time #NA)
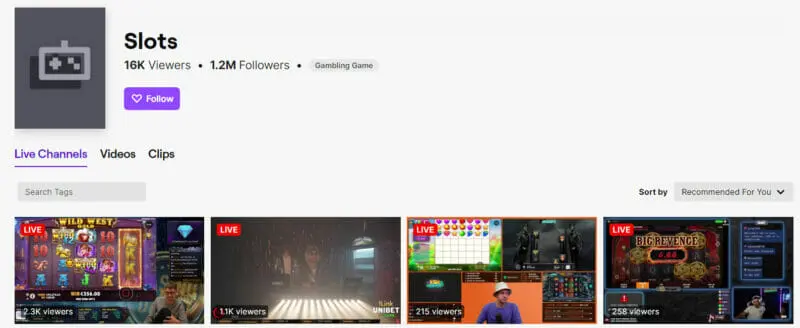
Average Viewers: 48,030
Average Channels: 79
Total Streamers: 12,014
Highest Viewers: 282,177
Most Channels: 182
Most Popular Streamers: TRAINWRECKSTV / ROSHTEIN / SCURROWS / AYEZEE / DEUCEACE / YASSUO / HUDSONAMORIM1 / XPOSED
Slots is a section of Twitch devoted to gambling. In this section, streamers play a variety of online gambling games. Some of the streams are merely spinning slots with no voice commentary. One of the reasons for the popularity of this category is that it allows people to see how a game operates before they lose real money through not understanding game mechanics.
16. Dead by Daylight (All-time #NA)
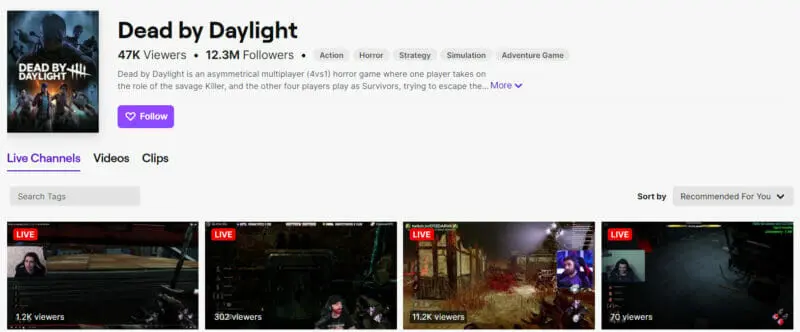
Average Viewers: 25,601
Average Channels: 549
Total Streamers: 103,484
Highest Viewers: 149,203
Most Channels: 2,101
Most Popular Streamers: OTZDARVA / AUGUSTINUNAPLAY8 / TAKESIPON / SAL_GU / THEJRM_ / SKERMZ / TRU3TA1ENT / SPOOKYLOOPZ
Dead by Daylight is an asymmetric survival horror video game developed by Behaviour Interactive. It was first released in 2016. The game is played as a one-versus-four online multiplayer where one player takes on the role of a savage killer and the other four play as survivors trying to escape the killer and avoid being caught and sacrificed to a malevolent force known as the Entity.
17. Hearthstone (All-time #6)
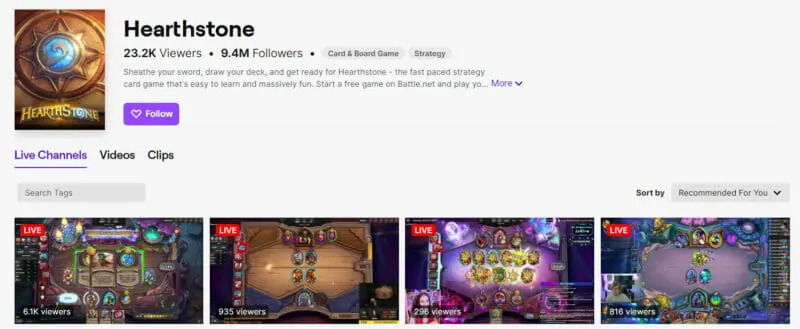
Average Viewers: 23,774
Average Channels: 71
Total Streamers: 10,382
Highest Viewers: 105,934
Most Channels: 367
Most Popular Streamers: SILVERNAME / LENAGOLOVACH / NL_KRIPP / THIJS / DOGDOG / RDULIVE / SUPERJJ102 / FLURRY1989
Hearthstone is a free-to-play online digital collectible card game developed and published by Blizzard Entertainment. It builds upon the existing lore of the Warcraft series by using the same elements, characters, and relics. The game is played as an eSport, with high-level tournaments such as Blizzard's official World Championship featuring a prize pool of up to $1 million.
18. Rocket League (All-time #12)
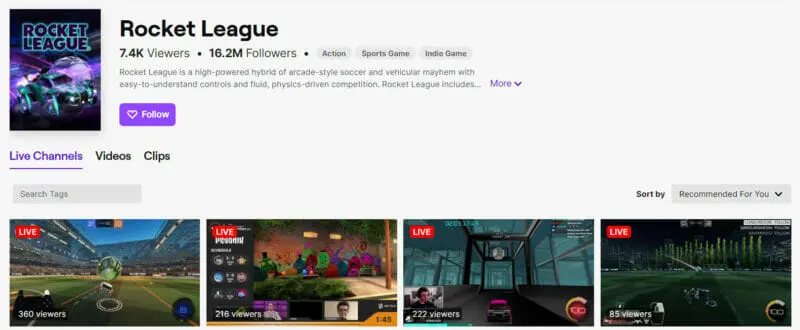
Average Viewers: 13,933
Average Channels: 162
Total Streamers: 64,245
Highest Viewers: 325,456
Most Channels: 732
Most Popular Streamers: ROCKETBAGUETTE / KAYDOP / RIZZO / FAIRYPEAK / FORKY / NENECREATIVE / LECHEPS / ALPHAKEP
Rocket League is a vehicular soccer video game developed and published by Psyonix, first released in 2015. It has been described as "soccer, but with rocket-powered cars." It has up to eight players assigned to each of the two teams, using rocket-powered vehicles to hit a ball into their opponent's goal and score points over the course of a match.
19. Tom Clancy's Rainbow Six Siege (All-time #10)
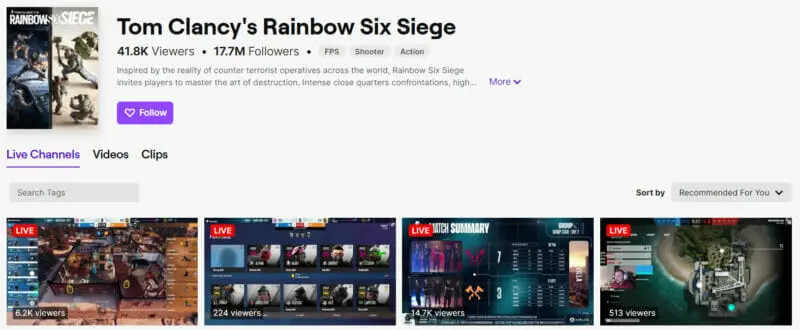
Average Viewers: 28,778
Average Channels: 1,441
Total Streamers: 10,698
Highest Viewers: 274,608
Most Channels: 3,637
Most Popular Streamers: R6ESPORTSBR / BEAULO / PENGU / KINGGEORGE / R6ESPORTSBR2
Tom Clancy's Rainbow Six Siege is an online tactical shooter video game developed by Ubisoft Montreal and published by Ubisoft. The game puts heavy emphasis on environmental destruction and cooperation between players. Each player assumes control of an attacker or a defender in different gameplay modes, such as rescuing a hostage, defusing a bomb, and taking control of an objective within a room.
20. Resident Evil Village (All-time #NA)
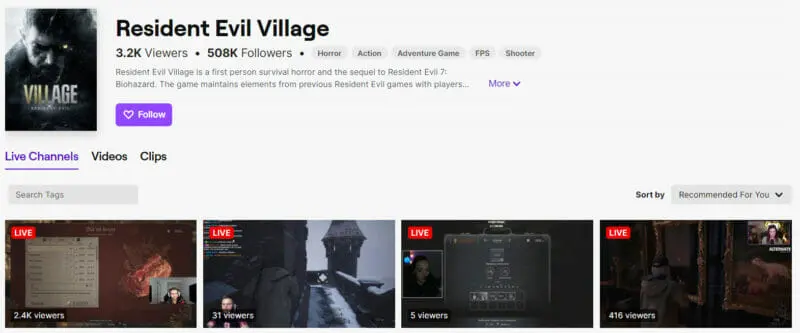
Average Viewers: 1,070
Average Channels: 15
Total Streamers: 12,885
Highest Viewers: 109,444
Most Channels: 206
Most Popular Streamers: DISTORTION2 / BAWKBASOUP / QTTSIX / CARCINOGENSDA / MAXYLOBES
Resident Evil Village is a first-person survival horror game developed and published by Capcom. It is a sequel to Resident Evil 7: Biohazard. The game now features a recently released online multiplayer mode.
Frequently Asked Questions
What is the most watched game on Twitch?
These are the most popular, most watched games on Twitch right now:
- Just Chatting
- Grand Theft Auto V (All-time #4)
- League of Legends (All-time #1)
- Fortnite (All-time #2)
- Call of Duty: Warzone (All-time #NA, but Call of Duty: Black Ops III #17)
- VALORANT (All-time #NA)
- Counter-Strike: Global Offensive (All-time #3)
- Apex Legends (All-time #NA)
- Rust (All-time #11)
- Dota 2 (All-time #5)
Who is the #1 streamer on Twitch?
As of February 2023, Ninka is the most-followed and most-streamed channel on Twitch. Ninja has more than 18.4 million followers.
What is the #1 game in the world?
What popular games are people playing right now?
- ROBLOX
- Fortnite
- Call of Duty: Modern Warefare
- Minecraft
What game has the most views?
These are the most-streamed game videos – you can also play them on your devices.
- Minecraft
- Fortnite
- League of Legends
- Roblox
- Grand Theft Auto V
- Garena Free Fire
SUGGESTED

Ultimate Guide to Marketing on Twitch in 2024
Are you considering marketing on Twitch? Here’s what you need to know to hit the ground...

27 Useful and Updated Twitch Stats for Influencer Marketing Managers
Discover the latest Twitch statistics including user growth engagement metrics and key...

100 Live Streaming Stats for Marketers
Live streaming is on the rise. From platforms to genres here are over 100 statistics...