GIFs are and always will be an internet favourite. They’re catchy, timely, and appropriate for almost every occasion. And with their unique ability to capture the mood of the moment, brands have turned to them to create more personalised posts and content in Instagram stories.
But there’s more to how successful GIFs can be. For example, Instagram marketing platform Later created their own collection of 24 GIFs and generated over 16 million views in a week!
But just how easy is it to create GIFs for your brand?
And how can you elevate your brand’s Instagram stories using GIFs?
In this blog post, we’ll show you how to do both. You’ll learn how to produce killer GIFs and how to use them in Instagram stories to create excitement around your brand, products and services.
How to Create Instagram Stories GIFs for Your Brand:
Types of GIFs
You’ve likely seen all types of GIFs online. Categorically, there are two types of GIFs. They are:
- The standard photo GIF
This type of GIF is created using 2 or more images.
- The animated GIF: animated GIFs come in two versions, those with backgrounds and those without.
- The animated GIF with a background: animated GIFs with backgrounds are usually created from videos, but can be created by animators. These are then converted into GIFs.
- The animated GIF without a background: animated GIFs without backgrounds are also created from videos or animations that have been converted into GIFs, but their backgrounds have been stripped or made transparent.
When you’re creating your GIFs for Instagram, it’s helpful to know the above, especially if you plan to create more than one GIF type as part of a campaign in your Instagram stories.
Creating GIFs
Creating GIFs is a simple enough process and there are several free online platforms you can use.
Before we get into steps for creating your GIFs, here’s what you should have to get started:
- A brief of what kinds of GIFs you want to create and why. Your brief will serve as an invaluable guide as you develop your collection of GIFs. As a rule of thumb, it’s a good idea to make your GIFs part of a campaign and showcase them in your stories. This way you’ll be able to track how successful your GIFs are at driving engagement for a specific campaign.
- A collection of content that you plan to turn into GIFs. This can be video or images that you plan to convert into GIFs. As a brand, stick to content you own to avoid any copyright issues.
Creating a standard image GIF
There are typically four steps to creating your GIFs on most online platforms. In this example, we’re using EZGIF.com. We’ve chosen EZGIF.com because they are one of the few online GIF creation platforms that allow you to customise your GIFs with text, filters, overlays, frames and more.
Step one: Locate your content. This can be a video URL or a collection of images. Once you have your content, you’ll upload it to your platform of choice.
For our example, we’re using two royalty free images downloaded from Pixabay. Once you’ve selected the images, click on “Upload and make a GIF!”
Step two: Set the animation speed, duration and start points of your GIF. Depending on the free GIF maker you are using, you may be presented with more options.
EZGIF.com allows you to arrange the order of your images, set the number of loops your GIF should run, use global colormap (the same colour for all images in your GIF and also compresses your GIF file size), and add effects.
Once you’re done, you can proceed and create your GIF.
Step three: Preview your creation and make tweaks to perfect it. Your new GIF may need a little editing and this is where the customisation features mentioned above come in handy.
Step four: Once you’ve completed the edits and customisation you need, save your new GIF to your computer.
Here’s our new GIF:
Looking for a free online GIF tool? Here’s our pick of 5 that come with customisation features:
1. EZGIF
2. Giphy
3. Make A Gif
4. Img Flip
5. GIFPAL
Creating Standard GIFs Without a Background
What if you want to remove the background from an image and only keep the subject? You can do this using an online image editing tool. While there are many available, we’ve found Remove.bg works really well.
Using AI, Remove.bg is able to remove the backgrounds of images in a few clicks. We were also pleasantly surprised by the accuracy of the editing. Our images came out looking professional and had smooth edges - something that can take a while to achieve when using professional photo editing software.
How to Remove Backgrounds From Images With Remove.bg
To remove the background from an image, click on the “Select a photo” button. Remove.bg will allow you to search your computer for the image you’d like to edit.
Next, click on “Open” or select the image and watch Remove.bg do the rest.
Once your edited image is available, you have the option of downloading it in various sizes.
Once you’ve saved your new image, you can choose to use it in a collection for the creation of a new GIF.
Creating Animated GIFs With a Background
Animated GIFs with backgrounds are relatively easy to create. All you’ll need is the video you want to convert into the GIF.
In the example of Homer Simpson backing into the hedge, this GIF is based on a clip from the Simpsons. The creator would have used a GIF creation tool to convert the file type from video to a GIF.
Creating Animated GIFs Without a Background
Creating animated GIFs without a background requires a little more effort than standard GIFs. The work is all in the preparation of the content you’ll be using.
As animated GIFs are created from videos, unless you’re familiar with video editing software, removing the background from a video can be a little challenging and even daunting.
If you’re looking for a fast way to remove the backgrounds from your videos, we recommend heading over to Fiverr and running a quick search for a video editor. Doing so will save you loads of time, especially if you don’t have access to an in-house graphics designer or videographer, and you’re working with a tight budget.

Source: fiverr.com
Creating GIFs Using Your Edited Videos
Once you’ve received your video without the background, you’re ready to create your new animated GIF.
Head over to your GIF tool of choice and upload your video. Follow the steps and convert it to a GIF.
The process is quick and you’ll also have the option of customising your new GIF with text, filters and other elements.
GIFs, Giphy and Instagram
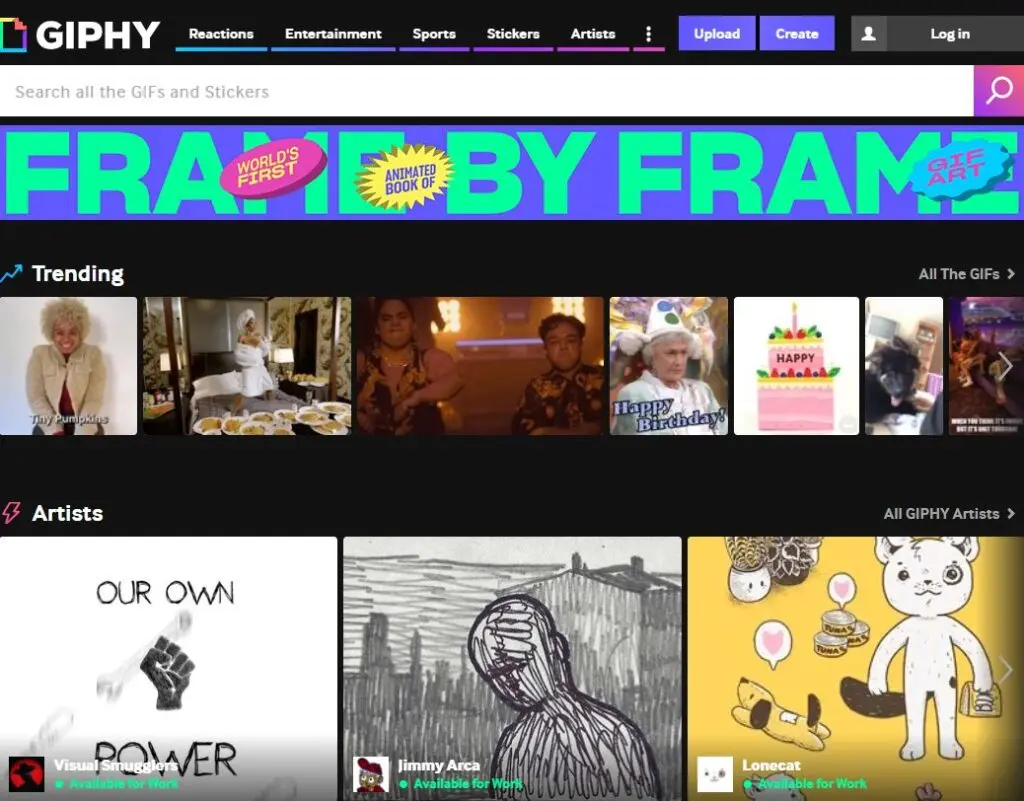
With your new GIF in hand, your next step is to make it available online and through Instagram. At present, Giphy is the only third-party GIF partner that Instagram uses. This means that if you create a GIF and want it to become searchable, usable and popular, you need to get it onto Giphy’s platform.
Setting up a Giphy account isn’t complex, but it can take up to a week to have your account approved.
Applying for Your Giphy Account
Why as much as a week? We’re not entirely sure, but we suspect that has something to do with the sheer volume of requests Giphy receives from people and brands looking to get their GIFs onto their platform.
Signing up for a Giphy account can be done in one of two ways:
- Become a Branded Channel - this is for any company, recording artist, actor or public figure that has created content they own.
- Apply for an Artist Channel - these are for artists who want to distribute GIFs. You ultimately will need to create a Branded Channel, but there are a few details to address if you are an artist. Giphy covers those details here.
Once your account is approved, you can start creating, uploading and downloading GIFs using Giphy.
While you don’t have to be a Giphy account holder to create GIFs using Giphy, they recommend that you create an account to keep all of your GIFs in one place for better management.
Note: when your account is approved, you can also have Giphy artists create unique GIFs for your brand. Giphy’s gone the extra mile to ensure that its users are able to collaborate as easily as possible by providing basic guidelines on how to hire a Giphy artist.
All you need do is search for GIFs you’re interested in, identify the artist(s) who has created the GIF(s) you like and connect directly.
Pro tip: artist work for a fee and to get the best out of them be sure to offer them a rate that’s fair. Also, once an artist has produced your GIFs, tagging the artist is also recommended. It just creates good karma.
To learn all about how to work with Giphy artists, go here.
GIFs and Stickers
While we’ve been discussing the use of GIFs, how to create them, and how to eventually use them in Instagram stories, when it comes to using them on Giphy, they are called stickers.
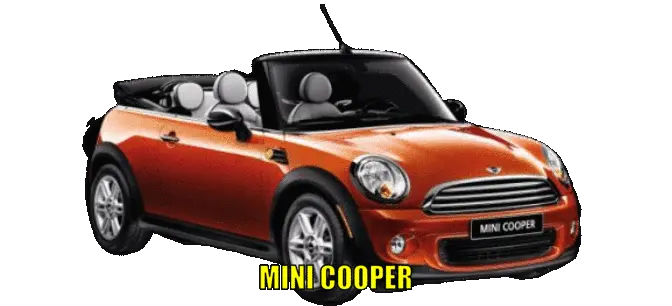
What is a sticker? A sticker is a GIF without a background.
Uploading Stickers to Your Giphy Page
Here’s how to set up your GIFs in your Giphy account:
- From within your Giphy account, choose your new stickers that you’d like to upload.
- Set the order in which your stickers appear on your Giphy page.
- Add tags to your stickers to make it easier for more people to find them. Tags are to be separated by commas and you can create tags that are applied to all stickers.
- Click the Upload button to complete the process.
A Word on Using Tags
When it comes to tags, here are tips on how to best use them:
- Be creative but try to limit the amount of words you use per tag to make it easier for your stickers to show in search results.
- Add details related to the subject’s name or what action they are performing.
- Incorporate catch phrases that you know are trending or have seen being used on other similar stickers and GIFs.
- Use tags that describe the colors used in the sticker or other themes associated with the sticker.
- And finally, aim to assign at least 10 tags for each GIF/sticker you upload. It may seem like a lot, but the goal is to generate brand awareness and the only way you can do so is by ensuring that people can find your GIFs.
Using GIFs to Elevate Your Instagram Stories
Now that you’ve created you GIFs/stickers, it’s time to put them to work!
Here are 3 tips on how to use you new stickers to create engaging Instagram stories:
1. Use standard GIFs with Call to Action
Smart marketers know that an easy way to get an audience to act is to tell them what to do next. By combining a well-designed standard image GIF with an attractive offer and a sticker used as your call to action, you’ll be able to capture your audience's attention and get them to act.
2. Make Your Text Pop
Switching-up your content from images to text can be super-useful, especially if you need to communicate specific dates and times for events and activities you want your audience to be aware of.
To highlight your text as people scroll through your stories, add catchy stickers that make viewers pay attention to the exact elements you don’t want them to miss.
3. Be Strategic
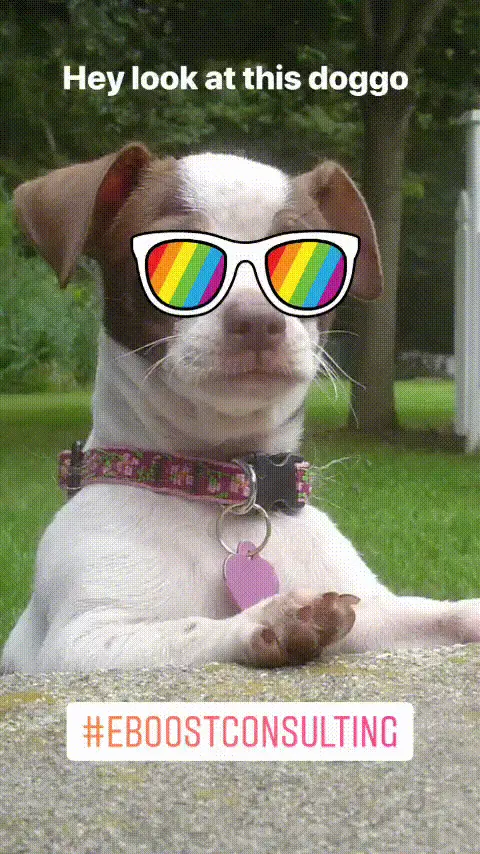
Stickers work really well when they are incorporated into content. This creates an almost augmented experience for your audience. Your followers get to see a well-placed and relevant sticker that can elevate an otherwise plane image.
Summary
GIFs open up a whole new world of opportunities for brand and branding. With the right collection of GIFs, you’ll be able to generate brand awareness and drive the kind of engagement your business needs to usher your audience along your buyer’s journey. This approach is especially effective for generating unique Instagram story ideas that captivate your audience.
But to create compelling GIFs, you’ll need to do your homework. Be prepared with a solid brief and objectives. As with all marketing endeavours, only what’s tracked gets measured. As you work your GIFs and stickers into you campaigns, get creative to grab your audience’s attention using the tips above.


