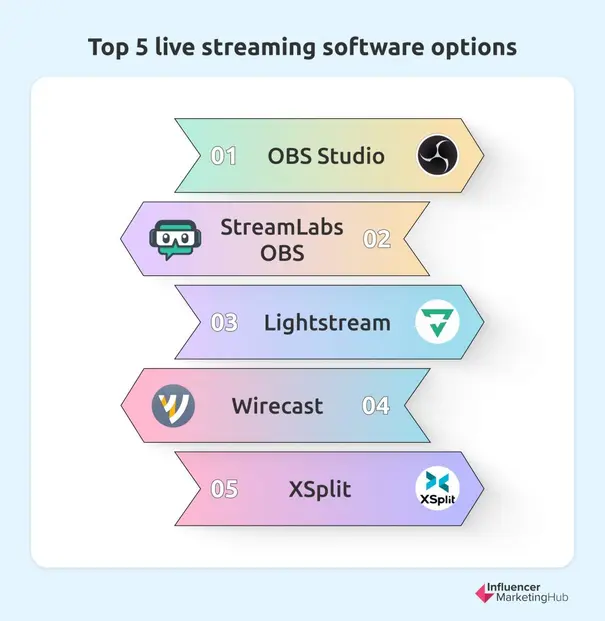
There are so many live streaming software options available on the market for both content creators and longtime business owners alike. In fact, live streaming can be a difficult task to figure out with lots of ins and outs.
But no matter your skill level, or your past experience, there is an option that will work best for you. How do you pick between all the options, and what option will work best for you? We’re breaking down five of the top live streaming software options to power your live stream.
How to Set Up Live Streaming Systems
A proper live stream setup has several different parts. Once you know and understand the basics, setting up your live streaming will be simple. The most important part of your live stream set up is the broadcast video, but there are four major components to consider.
- Video Source and Audio Source: This will be the most expensive part of your setup: high definition cameras, computers, and any other equipment you find necessary. For audio equipment, you’ll need microphones, mixer feeds, and other sound equipment.
- Video Encoder: A video encoder is one of the most important pieces of equipment you will have for your live streaming set up.
- Streaming Destination: A streaming destination is a live streaming platform.
- Internet Connection: A strong Internet connection is crucial for live streaming.
Live streaming will require a certain workflow. You will need to set up your audio and video components and then set up your connection, plan your livestream, and build a connection between your encoder and streaming destination.
When everything is connected, you will be able to start a live stream and have your audience tune in right away. Here’s a complete breakdown of all the elements needed for a successful live stream.
Picking the Right Video Equipment
One of the most important elements to your live video podcast is finding the right camera. Finding the right camera can be tricky, though. There are thousands of different cameras on the market with live streaming capabilities. However, like many technology products, it’s all about finding the right camera with the right capabilities, despite the trade-offs.
If you’re new to video podcasting and live streaming, you may want to dive right in and purchase an entry-level video camera. Starter cameras are much cheaper and more lightweight than other options. Over the years, video quality on entry-level cameras has increased significantly, but only in ideal lighting conditions. The cameras lack manual controls in many circumstances and offer basic options for many other functions, including connectivity.
Lightweight, entry-level video cameras will cost around $300 to $700. These may include smartphone cameras, entry-level camcorders, and action cameras.
If you want to upgrade a bit, prosumer video cameras offer a fantastic mid-level option for live streamers. You will notice a big difference in the overall video quality of the camera. The connectivity will also improve, and HDMI will become a standard feature. The cameras will also feature more manual controls, too, but will be lacking in ergonomics and the fully customizable features of a high-end camera. However, for many live podcast streamers, these cameras will offer the right amount of quality and price. A prosumer camera will cost anywhere from $800 to $3,000. Examples of these may include DSLR cameras, mirrorless cameras (like the Sony Alpha), prosumer camcorders, 4k cameras, and more.
For the ultimate upgrade, professional video cameras will offer everything you can ever dream of - with quite a price tag. For one, the cameras will have pro-level connectors like XLR and SDI. The cameras will also feature high-resolution sensors with sublime image quality, even in less-than-ideal lighting conditions. The cameras are more stable and they are built better with more manual features. Many of these professional cameras will also have interchangeable lenses, and cameras will range from $1,500 to more than $25,000. Examples of these may include professional camcorders, EFT cameras, cinema cameras and more.
Picking the Right Audio Equipment
According to some studies, viewers pay even more attention to audio quality during livestream events than video quality. The same is true especially for podcasts, where your audio will double as a regular podcast on a streaming platform. If you have some issues with your video quality, your podcast audio quality may still be okay. Investing in good quality audio gear may be one of the most important things you do for your video podcast.
As with video equipment, there are several different tiers of audio equipment quality.
Low to medium quality equipment include a built-in microphone on certain entry-level and prosumer cameras. Many people will use their cameras to double as audio equipment, and that works well when you have a smaller budget. But upgrading your equipment has major implications for upgrading your podcast quality.
Medium to high quality equipment includes a huge range of equipment, from USB and 3.5mm microphones, or built-in microphones on professional, live video cameras. This is the type of equipment most people use for their podcasts, and though it requires some editing, this type of upgraded audio equipment offers a big upgrade for your video podcast.
In the highest tier of equipment, professional-quality microphones can make a big difference for professional-level productions. The equipment includes equipment like XLR microphones.
For many video podcasters, a basic wired 3.5mm lavalier mic will take your podcast up a notch, especially if you are using the built-in microphones on entry-level video cameras or phones. On the highest level, XLR microphones offer the best level of quality - though they can be an investment for many podcasters. However, XLR microphones are a professional standard for quality and their durability.
Picking the Right Mixing Equipment
Mixing equipment is a crucial part of a live stream set-up when you are setting up your podcast. Mixing equipment will allow you to capture multiple streams of video or audio sources. You can then switch between these sources during a live broadcast. While many podcasters will probably not deal with this, if you’re doing large, multi-camera live streams, you will absolutely need a mixer.
When you’re looking at video mixing equipment, consider these tips:
- The physical size
- Inputs and outputs
- User interface
- Automation and connectivity
One example of a professional switcher? The Blackmagic Design ATEM Television Studio Pro 4K Live Production Switcher, which costs just under $3,000. It’s ideal for big set-ups, and allows you to connect up to four cameras via HDMI and four SDI cameras.
Complex live stream set-ups will require an audio mixing tool to handle multiple audio sources. You will need to find audio mixing equipment that has multiple input and output channels, auxiliary and monitor buses and outputs, and digital inputs, among other needs.
Picking the Right Encoder
The fourth and final key piece of equipment? Encoders. Video encoding is the process of compressing video files so they are saved as a fluid video, in place of individual images. Encoding video has a number of benefits, including:
- Reducing file size
- Reducing buffering for streaming video
- Changing resolution or changing the aspect ratio
- Converting obsolete files to more modern formats
- Making a video compatible with a certain device
5 Software Options to Power Your Livestream
Some of our top picks for software options to power your livestream have the basic live streaming features and recording features like single-destination RTMP streaming, multiple video sources and layouts, chroma key (i.e. green screen), live switching, and custom transitions.
But each software option on our list has their own pros and cons. When picking your live streaming software, consider what you need and do not need for your setup.
OBS Studio
Source: obsproject.com
OBS, or Open Broadcaster Software, is an open-source project that offers a powerful solution for live streaming. This is a great option, too, for the budget-conscious because OBS is open-source and free to use. Though OBS does not have advanced features that other professional paid software options might have. However, OBS has many live streaming essentials to put together a fully functioning broadcast.
One of the best parts of OBS Studio is how customizable it is. The community, which works on the project, is constantly adding new features, plugins, OBS templates, and themes. If you are willing to dig into OBS and mess with the customizations, you can truly make a project that works for you and your needs. OBS will not, however, offer you things like virtual sets, guest hosting, and multi-streaming.
One of the big downsides? If you do need help urgently, there is no central customer support team to help you out. Of course, there is a community that will help if they can - but other paid products will offer customer support to figure out the functionality. For more tech-savvy users, this won’t be a problem. There are plenty of guides available online, too.
Cost: Free
Streamlabs Desktop
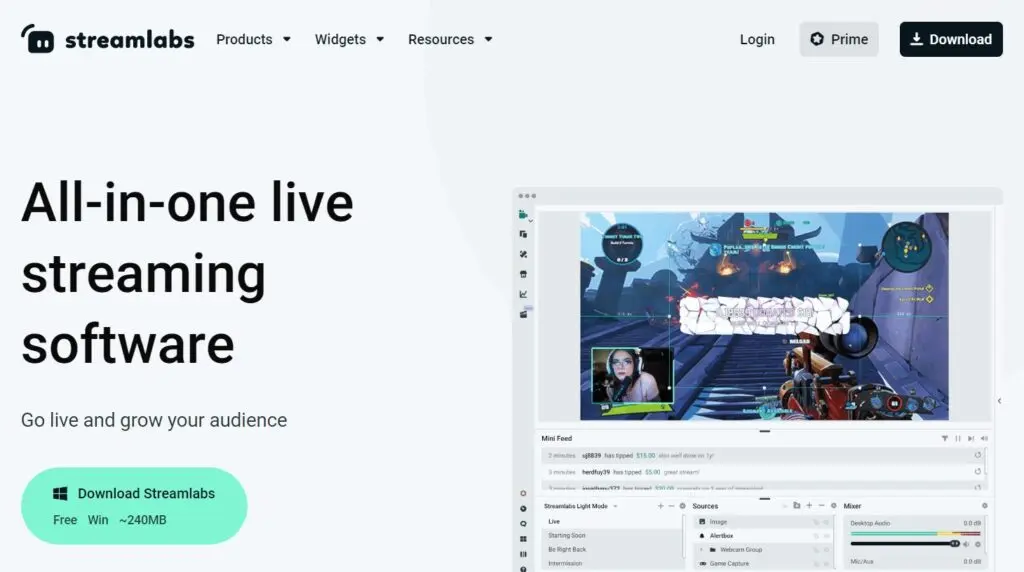
Source: streamlabs.com
Streamlabs Desktop has only recently become a mainstream tool for live streaming. Prior to this, StreamLabs was mostly used by gamers in addition to other streaming software solutions. However, the new Streamlabs Desktop is a combination of StreamLabs and OBS as an open-source solution.
Streamlabs Desktop is similar to OBS Studio, but has a much more user-friendly interface with a better design. All the processes are grouped together in the StreamsLabs Dashboard and the processes have been improved, from OBS Studio. For example, Streamlabs Desktop has social widgets (that include chatboxes, game alerts, and more), free overlays, audio filters, video editors, and more.
Unlike OBS Studios, StreamLabs has better support and real-time troubleshooting. However, this software is primarily focused on gamers and individuals who want to use live streaming to make money. This product remains new and is still undergoing improvements.
Cost: Free
Lightstream
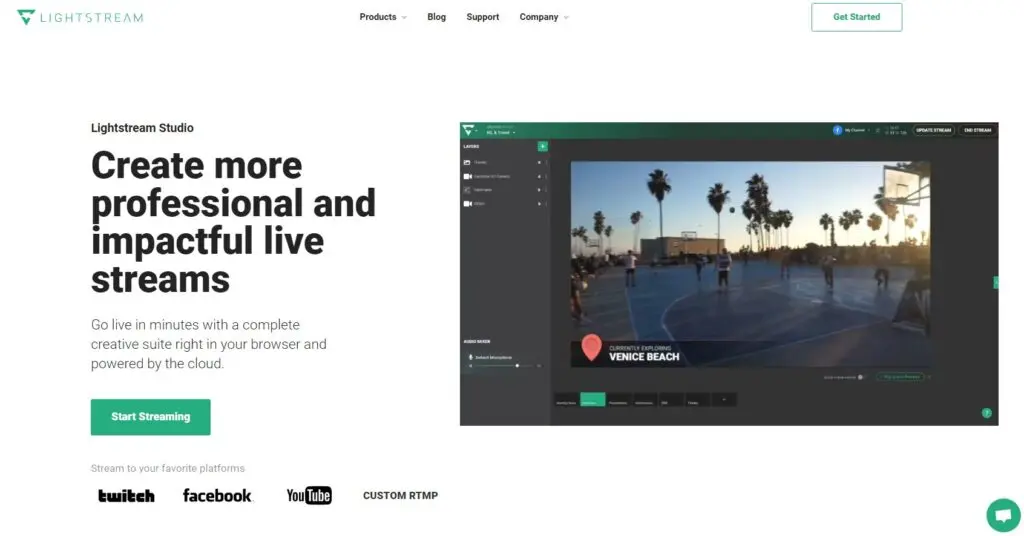
Source: golightstream.com
Lightstream is a powerful and simple-to-use, browser-based streaming platform that works best if you don’t necessarily have a strong computer to back it up. Their website even says so, and they call themselves “the Google Docs for live video production.” Lightstream Studio works almost entirely in the cloud, but all the compositing and encoding is done on Lightstream servers. That means less CPU usage for your computer.
Lightstream is also free, but has plenty of great features, like guest hosting, remote scene switching, live chat support, and much more. Your projects will be saved in the cloud, and you won’t have to start all over when you have a new live stream project. In addition, the Lightstream Studio software will automatically pick the best encoding settings on your computer and work with your own settings to keep your stream steady and strong.
Cost: Free
Wirecast
Source: telestream.net
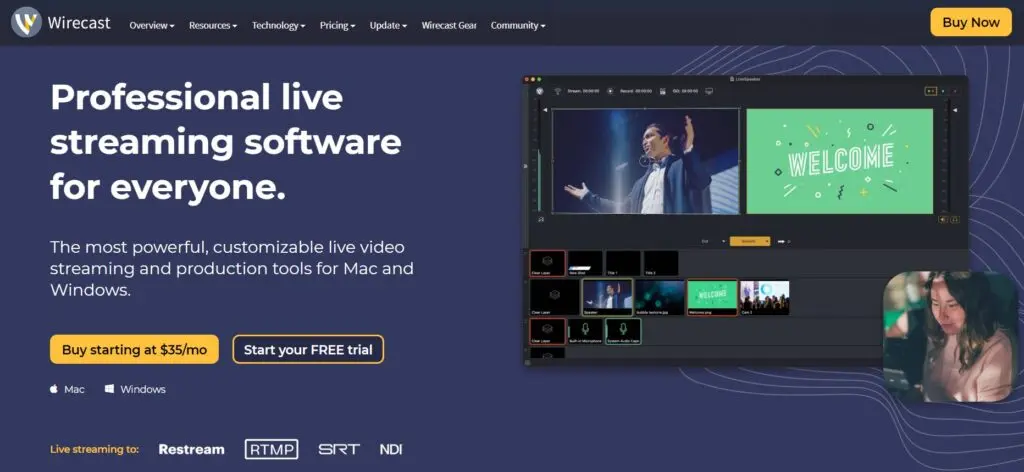
Wirecast is a professional-level live stream option packed with plenty of features for the hefty price tag. The studio program has guests hosting capabilities, animated titles and graphics, unlimited encoding of video sources, streaming to different servers and platforms, and more. The pro version has even more features, with high-resolution ISO recording, 3D virtual sets, instant replays, and much more. Wirecast comes with a high price tag, though you can try it out with a free trial (with a watermark).
Wirecast has a well-designed user interface, though it’s a complex design and may seem difficult to use at first. However, it will be easy to figure out.
Wirecast is owned by Telestream, a large company constantly coming out with new features, updates, and improvements. In addition, the program comes with technical support. You can opt to buy premium support for $299 a year too, if you need around-the-clock support.
Cost: Wirecast Studio costs $599 and Wirecast Pro is $799. A free, 30-day trial is available.
XSplit
Source: xsplit.com
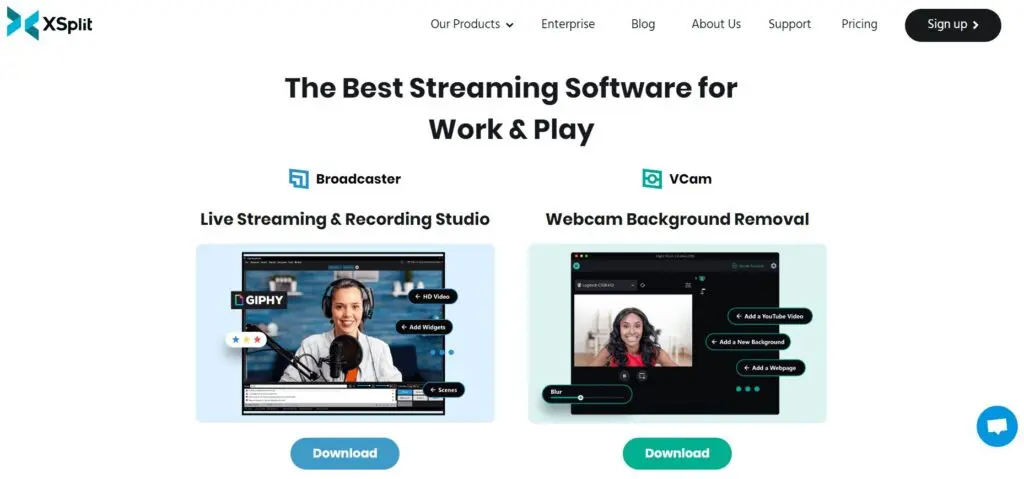
This more advanced encoding software option may require prior knowledge, but the clean, intuitive interface offers affordable and easy-to-use live streaming capabilities. XSplit comes in two versions: XSplit Broadcaster and XSplit Gamecaster. Both of these programs will allow you to live stream, though the Gamecaster is a slightly more stripped down version of the program with essentials. XSplit has a number of features that make it a great option, including a VCam tool (where users can blur, replace, or remove their backgrounds).
XSplit has a free version with limited features, and using the free version for live streaming works well for most people. Limitations include watermarks on streams with resolution over 720p and streams that use any VCam feature. The paid versions don’t have watermarks, and they also allow for multistreaming. In addition, XSplit has technical support with occasional updates to keep customers happy. The program offers plenty of add ons, too.
One of the downsides to XSplit? A limited number of recording formats (MP4 and FLV only). More casual users may not mind, but advanced users may worry. The program is also only available on Windows.
Cost: XSplit offers a free version. The premium versions have a monthly subscription at $4 a month or a one-time purchase of $199. There’s a whole pricing guide on their website.


