There are two types of emote on Twitch – global emotes, and custom emotes. Every Twitch user has access to global emotes. However, custom emotes are personalized, and you can make them yourself.
You represent emotes with a code – a colon followed by the emote's name, finishing with another colon. For example, Twitch's signature emote is called Kappa, and you type :Kappa when you use it. Kappa indicates sarcasm or dry humor. When you make a custom emote, you need to start each emote with a prefix for the channel. For example, custom emotes on KayPea's Twitch channel begin with ":kayp", e.g., :kaypGood: and :kaypRainbow:
You can manage your custom emotes in your Dashboard under Settings.
What are Twitch Emotes?
Emotes are Twitch-specific symbols that viewers and streamers use to express emotions in chat. There are two kinds of emotes on Twitch:
- Global emotes – emotes that anybody can use on Twitch. These include :HeyGuys: (a casual greeting), :LUL: (laughter), :bleedPurple: (Twitch pride), and :NotLikeThis: (a sign of dismay.) Of course, it isn't the words that show on the screen. Appropriate images replace them. For example, :HeyGuys: is represented by an image of a woman waving, :LUL: is represented by a man laughing, :bleedPurple: is represented by a purple heart bleeding purple drips, and :NotLikeThis: shows somebody with their head in their hands.
- Custom emotes – emotes that you design yourself, and therefore are original to you.
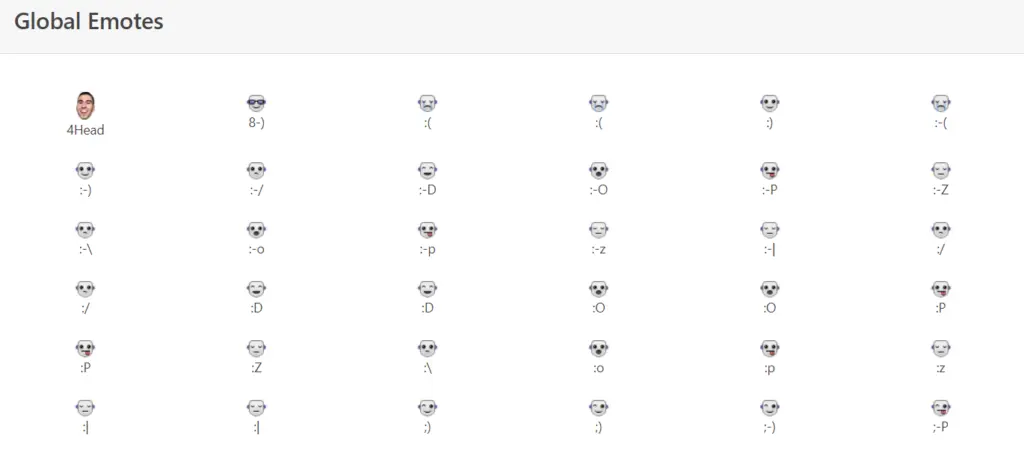
Source: twitchemotes.com
People generally use emotes to amplify some simple idea. They can use them to add more expression during a text conversation. Also, custom emotes can act as a simple ad for a channel. Every time somebody uses your emote in another channel, there is a chance that somebody will follow it back to your channel and join your community.
Popular Twitch Emotes
StreamElements monitors the usage of Twitch emotes, and the current top emote is :x0pashL:, with over 8.85 billion uses. Its popularity has made it the most widely used emote on Twitch at the moment.

In second place is :forsen5G:, with over 8.51 billion uses. This emote, featuring a purple, warped face of the streamer Forsen, is a variation of the :forsenE: emote that emerged in 2018. :forsen5G: was created in 2021 and quickly became a trending emote. While some believe that its rapid rise was due to bot spamming, others think it was used by Forsen's fans to troll and annoy other communities.
The third most popular emote is :suwieOwO:, with nearly 7 billion uses. Originating from the channel Suwie, this emote has become a prominent part of Twitch culture, reflecting the diversity and creativity within the community.
These emotes illustrate the dynamic and evolving nature of Twitch culture, where new trends and memes rapidly gain popularity and become integral to the platform's unique form of expression.
Who Can Make a Custom Twitch Emote?
Although anybody can use global emotes on Twitch, only Twitch Affiliates and Twitch Partners can use custom Twitch emotes. You can think of your custom emotes as your branding, as members of your community will predominantly use them. You can also offer them to your subscribers as a reward.
Requirements for Twitch Emotes
People of all ages use Twitch. Therefore, Twitch has placed limits on what you can use as emotes. You have to adhere to Twitch's Terms of Service and Community Guidelines. These mainly stress that your emotes need to be legal, respect copyright and trademarks, and not depict sexual or violent activity or any self-destructive behavior (e.g., suicide, illegal use of drugs, illicit consumption of alcohol, or dangerous driving.) You should check that your emote doesn't break any of these rules before you pay anybody to create your emote for you or spend time making it yourself.
Twitch Emote Requirements:
- A .png file
- < 1MB in size
- Submitted in three sizes: 28px x 28px, 56px x 56px, and 112px x 112px
- Have a transparent background
- Easily readable
- Clear and sharp
You need to choose a unique code added after your emoticon prefix.
Creating Your Twitch Emote
The first thing you need to do when making an emote is to think about your community – after all, the primary purpose of a custom emote is to bring a community together. So, you should consider what types of emotes would interest your community.
Many streamers have begun the process by asking their communities for suggestions. It is easier to develop ideas when you have a group of people brainstorming than to think up the perfect emote yourself. Also, by letting your community join together in the creation process, you will make it more likely that they will buy into using the emote once you have finalized it.
You will want your custom emote to represent your channel in some way. It could relate to a catchphrase you use in your streams, the games you play, a nickname you may call your viewers or the overall branding you give your channel. It also needs to be an idea you can convey in a small graphic.
You should also think about how your audience uses global emotes. In which circumstances do people like to use emotes? For instance, they may use them to say hello to new followers or subscribers, as a facepalm or LOL expression in reaction to another user's comments (or your gameplay), as a way to react when things go wrong in your gaming, or even as a way to express rage.
As your community grows, you will unlock additional emote slots so that you can create new emotes to represent different emotions or situations.
Ways to Design Your Emote
How you go about designing your emote will depend on your design ability and willingness to use graphics software. If graphic design interests you, you may consider creating your emote yourself; otherwise, you may choose to outsource the creation of the image you use as your emote.
Even if you intend to outsource your emote design, you should probably make some general sketches first to give you a rough idea of what you want your emote to convey. You need your emotes to be engaging – don't just copy existing emotes used by hundreds of other streamers. By having a truly custom emote, you will give people an incentive to obtain your emote.
1. Outsource Your Emote Creation
If you don't feel comfortable using design tools, outsource the job of creating your emote. There are plenty of freelance artists keen to do this work. Some of the typical places to find designers are Fiverr, Upwork, Behance, and even Twitch's Art Section, where you could ask an artist currently online for help.
2. Create Your Twitch Emote Yourself
If you have graphic skills or simply can't afford to pay a professional artist, you may prefer to make your Twitch emote yourself. You will find many programs that can help you, from free online sites, up to heavy-duty software like Adobe Photoshop.
Top Software to Make Twitch Emotes
OWN3D has a tool that helps you make unique emotes for Twitch, YouTube, or Discord. You can create and download your emotes immediately, with no waiting time and integrate them into your stream on the same day. OWN3D works with professional illustrators who constantly supply their Emote Maker with different drawing styles, so there’s always something new. You can create the perfect emote from 25,000,000,000 combinations. You follow a four-step process: Placeit has 250 templates and tools you can use to make your Twitch emote. In this case, you aren’t starting from scratch, so your emote won’t be completely original, but you can modify existing graphics and add your preferred text. This software is free, easy to use, and you can make yourself an emote exceptionally quickly. GIMP is another free online image editor. It is a cross-platform image editor available for GNU/Linux, OS X, Windows, and more operating systems. GIMP provides you with sophisticated tools to get your job done. These tools mean that you can make high-quality emotes. However, GIMP can be complex to learn, and it is best for someone with some artistic skill. Clip Studio Paint describes itself as being artist’s software for drawing and painting. It is excellent for digital painting. Although Clip Studio Paint is paid software, you can use all functions for up to six months for free. With Clip Studio Paint having so many features, it may be time-consuming for beginners to create a good emote. The industry leader for manipulating photographs is Adobe Photoshop. It is world-class imaging and graphic design software that’s at the core of just about every creative project, from photo editing and compositing to digital painting, animation, and graphic design. It is very complex and most suitable for people who already understand its capabilities or are willing to invest considerable time learning them. Although the full version can be expensive, you can try Photoshop for seven days for free. Emotes Creator includes a Twitch Emotes Maker tool. You choose a style, then customize your emote before you download it. You can select from Avatar style, Chibi style, or Cartoon style. You start from a base emote of your chosen gender and then set a skin tone, clothes, hair, eyes, mouth, glasses, beard, mustache, hat, headset, special items, hands, and text. Kapwing Studio lets you take any image, GIF, or video, add text, make memes, resize, and more. Anyone can use it to share multimedia stories, create digital art, and edit media online. Kapwing makes it easy to design, remove the background and resize all your emotes. You can make custom Twitch emotes by following a five-step process:1. OWN3D Emote Maker
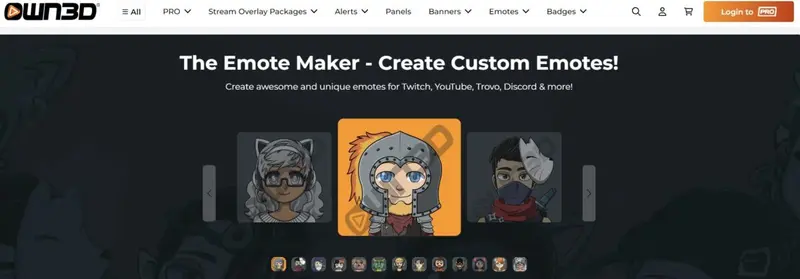
2. Placeit Emote Maker

3. GIMP
4. Clip Studio Paint
5. Adobe Photoshop
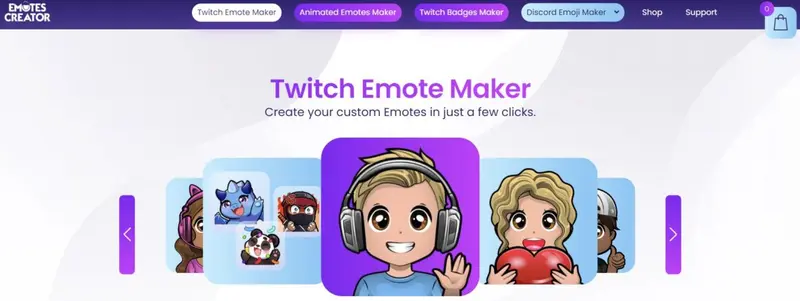
6. Emotes Creator
7. Kapwing

Adding Custom Emotes to Your Channel
Once you have made your emotes, you will want to upload them to your Twitch channel. You do this by going to your Dashboard and clicking the Affiliate/Partners Settings tab. You then click on Emotes and upload your emotes in the three specified sizes. Finally, click on Save Changes.
Twitch guarantees you one sub emote slot if you're an Affiliate, with up to five unlockable slots in total. Partners receive six automatic slots and can unlock up to 60 emote slots overall.
Frequently Asked Questions
What are Twitch emotes, and how are they used?
Twitch emotes are unique symbols that viewers and streamers use to express emotions in chat. There are two types: global emotes, which anyone can use, and custom emotes, which are personalized for specific channels. Custom emotes can help enhance community engagement and serve as a branding tool for streamers.
Who can create custom Twitch emotes?
Only Twitch Affiliates and Twitch Partners have the ability to create custom emotes. While anyone can use global emotes, custom emotes are designed to represent a channel's brand and are typically available to subscribers as rewards.
How can I design my own Twitch emotes?
You can design Twitch emotes yourself using various graphic design tools, or you can outsource the creation to a freelance artist. Popular software options include Adobe Photoshop, GIMP, and online tools like OWN3D Emote Maker and Placeit, which offer templates and customization features.


